Cloud2D Zrx 开发环境搭建说明
# 1、准备开发环境
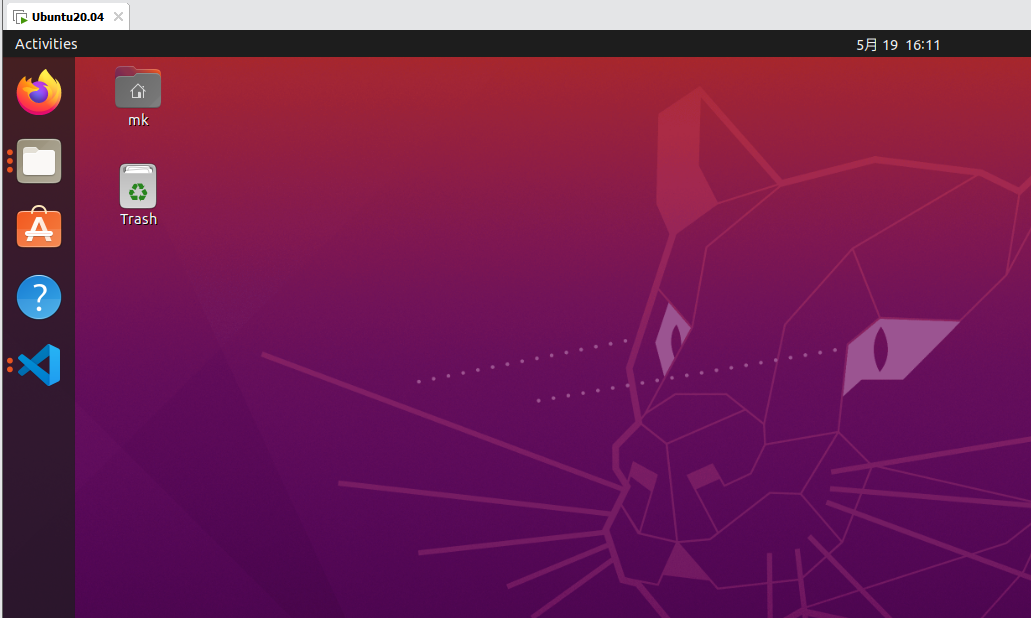
安装虚拟机或者物理机系统 Ubuntu 20.04
# 2、安装开发编译包
在 Ubuntu 中执行
sudo apt install cmake
sudo apt install g++
安装 cmake 及 g++编译器
# 3、安装开发环境
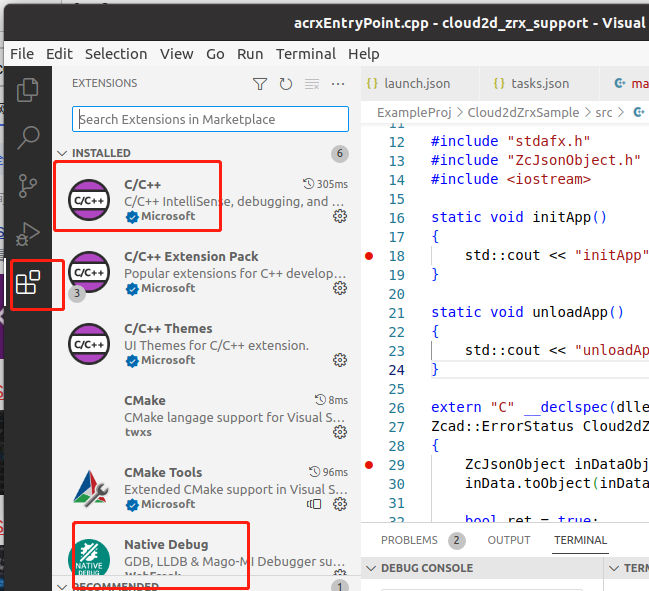
安装 VSCode
VSCode 插件 Nativegdb C/C++
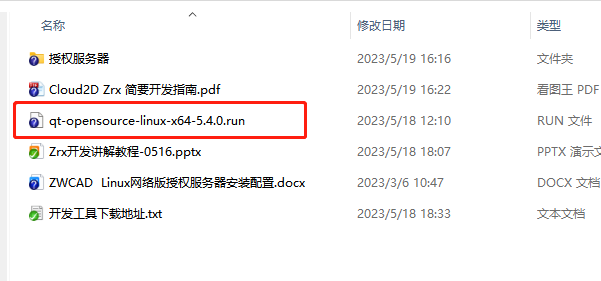
安装 Qt5.4
# 4、安装授权服务器
安装文件在 doc and tools 目录下

安装后通过中望云 2D 管理员或对接技术人员进行授权激活
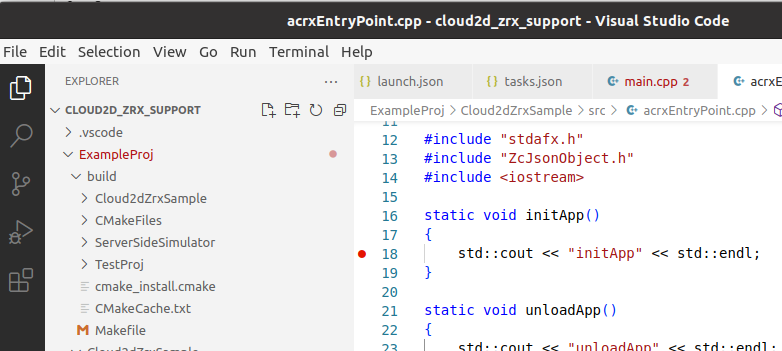
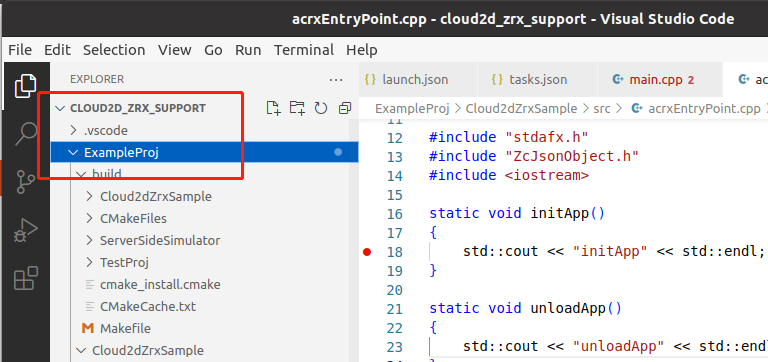
# 5、VSCode 打开示例项目工程
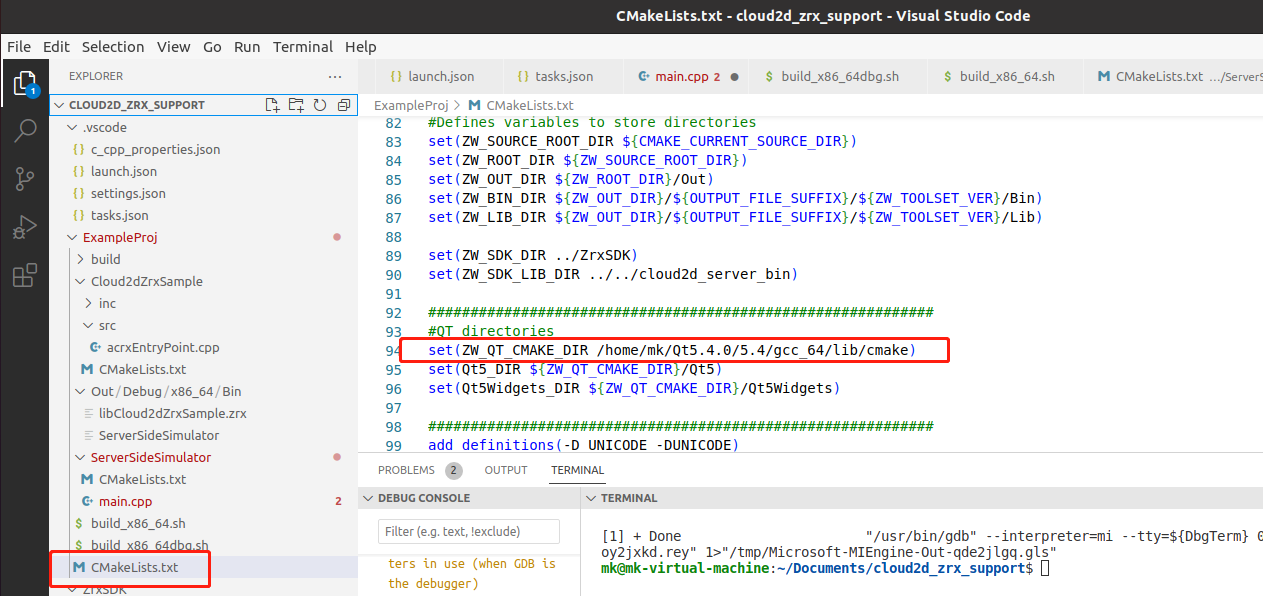
修改 Qt 的路径配置
运行 build_x86_64dbg.sh 完成项目的编译

会自动拷贝 zrx 到运行目录下
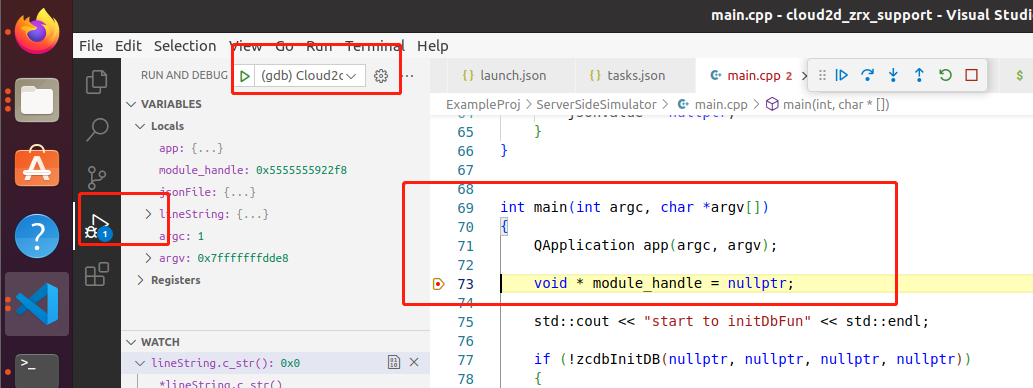
# 6、运行和调试
launch.json 为运行配置文件

切换到调试页面,即可调试运行